Install

Open the VS Code Extensions panel, search for Adsum IoT Coder, and click Install. Or install from the VS Code Marketplace or Open VSX (for Cursor, Windsurf, and VSCodium) directly. You can start immediately. The free tier runs on a managed model, so there is no provider screen to clear first. Add your own key whenever you want.

Set up your toolchain

Adsum drives your existing vendor toolchain, so install the one for your platform first. The agent detects it automatically.
  • Nordic nRF install the nRF Connect Extension Pack, which brings the nRF Connect SDK, toolchain, and SEGGER J-Link tooling.
  • Espressif ESP install ESP-IDF (the Espressif IDF extension is the easiest path). Adsum detects the Espressif extension if it is present.

See it work in 30 seconds

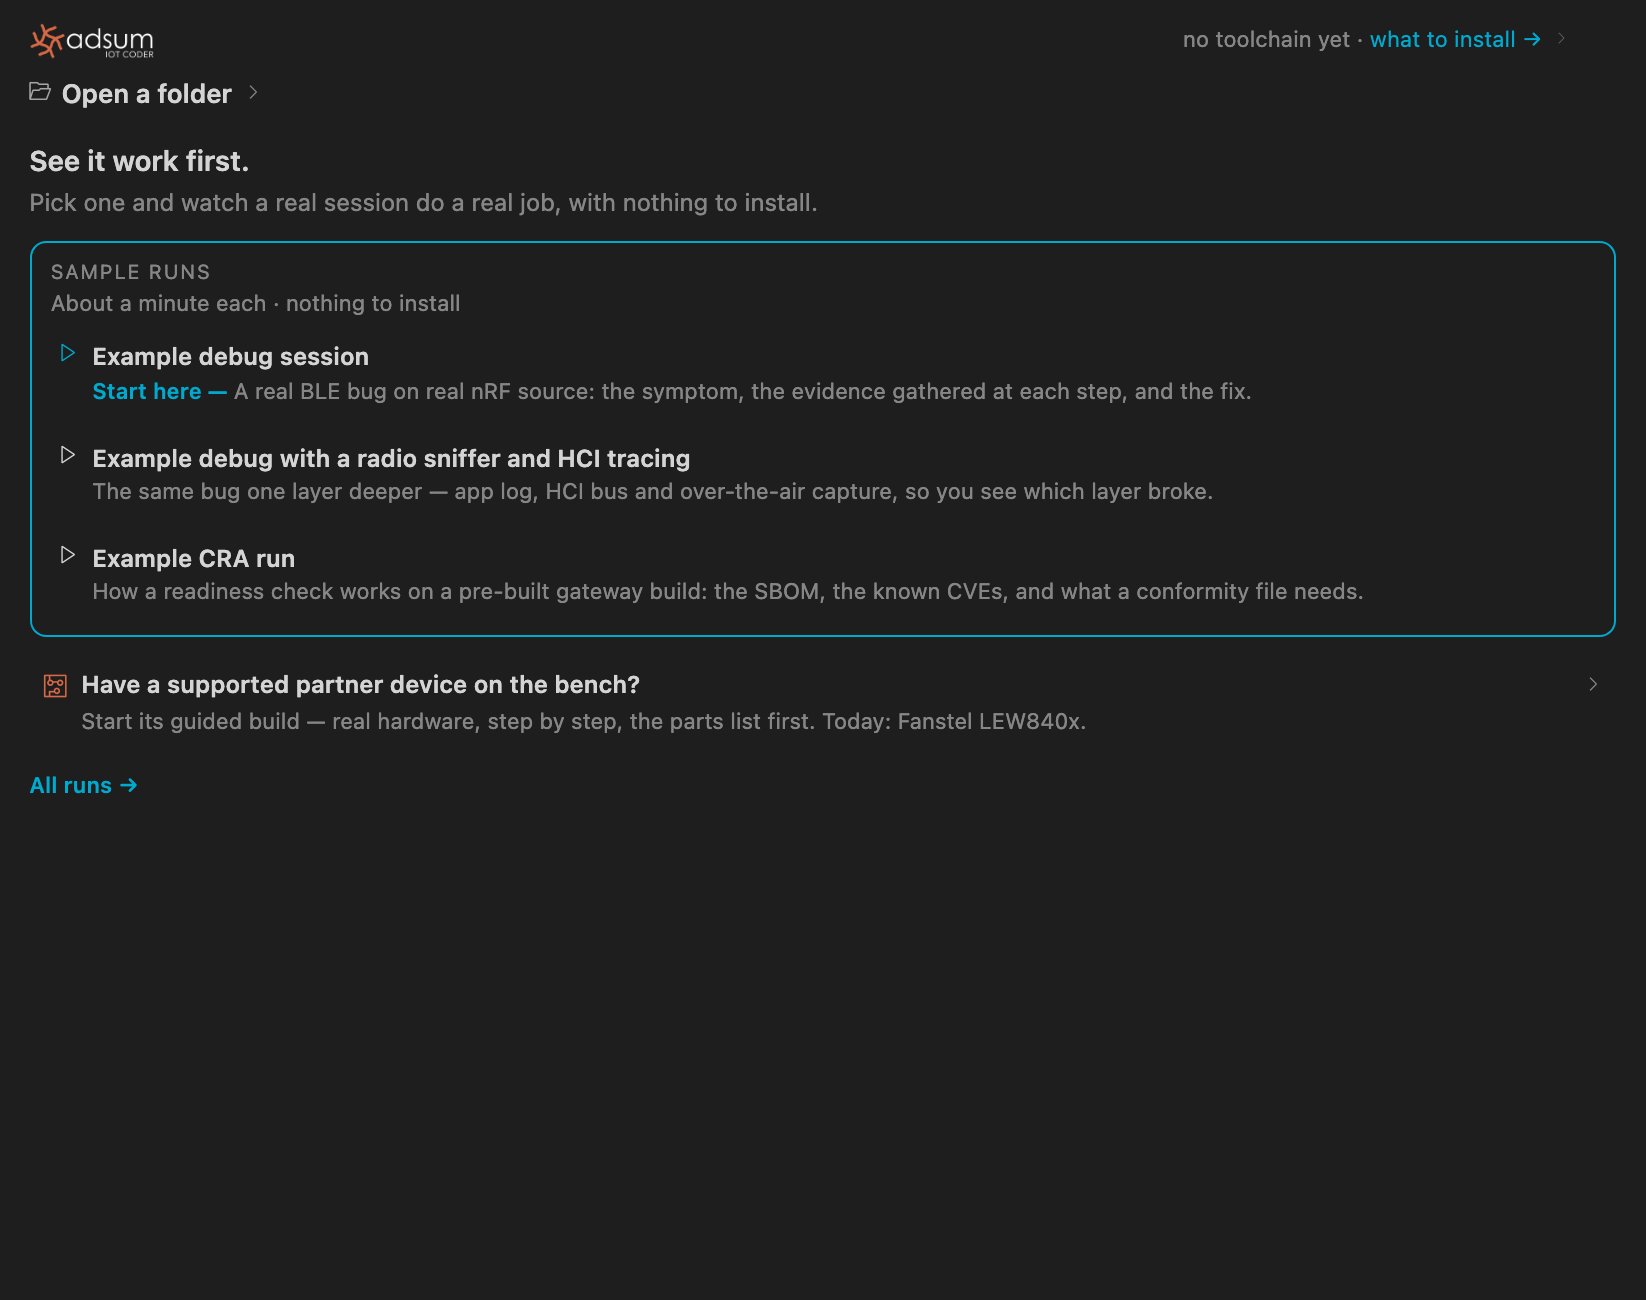
With nothing of your own open, the home lets you try it on a bundled sample project: debug a real BLE bug end to end (capture, analyze, fix on a genuine failure), or preview a CRA readiness check, with no board and no key. It is the fastest way to see how the agent works.
Adsum IoT Coder 'Try it on a sample project' panel: preview CRA readiness on a sample, or debug a real BLE bug (BLE NUS one-directional communication) on bundled nRF firmware, with no board or key

Try it on a bundled sample: preview a CRA readiness check, or debug a real BLE bug, with no board and no key.

It already knows your setup

Before you open a project, the home reads your environment and auto-detects your nRF and ESP toolchains and any connected boards.
Adsum IoT Coder home: the status strip detects nRF (NCS 3.2.1) and ESP (ESP-IDF) with versions and boards, a 'Get ahead of the CRA' prompt, and workflow cards including CRA SBOM & Fix

The home detects your nRF and ESP toolchains and boards, surfaces a CRA readiness prompt, and offers one-click workflows.

Then it adapts to your project

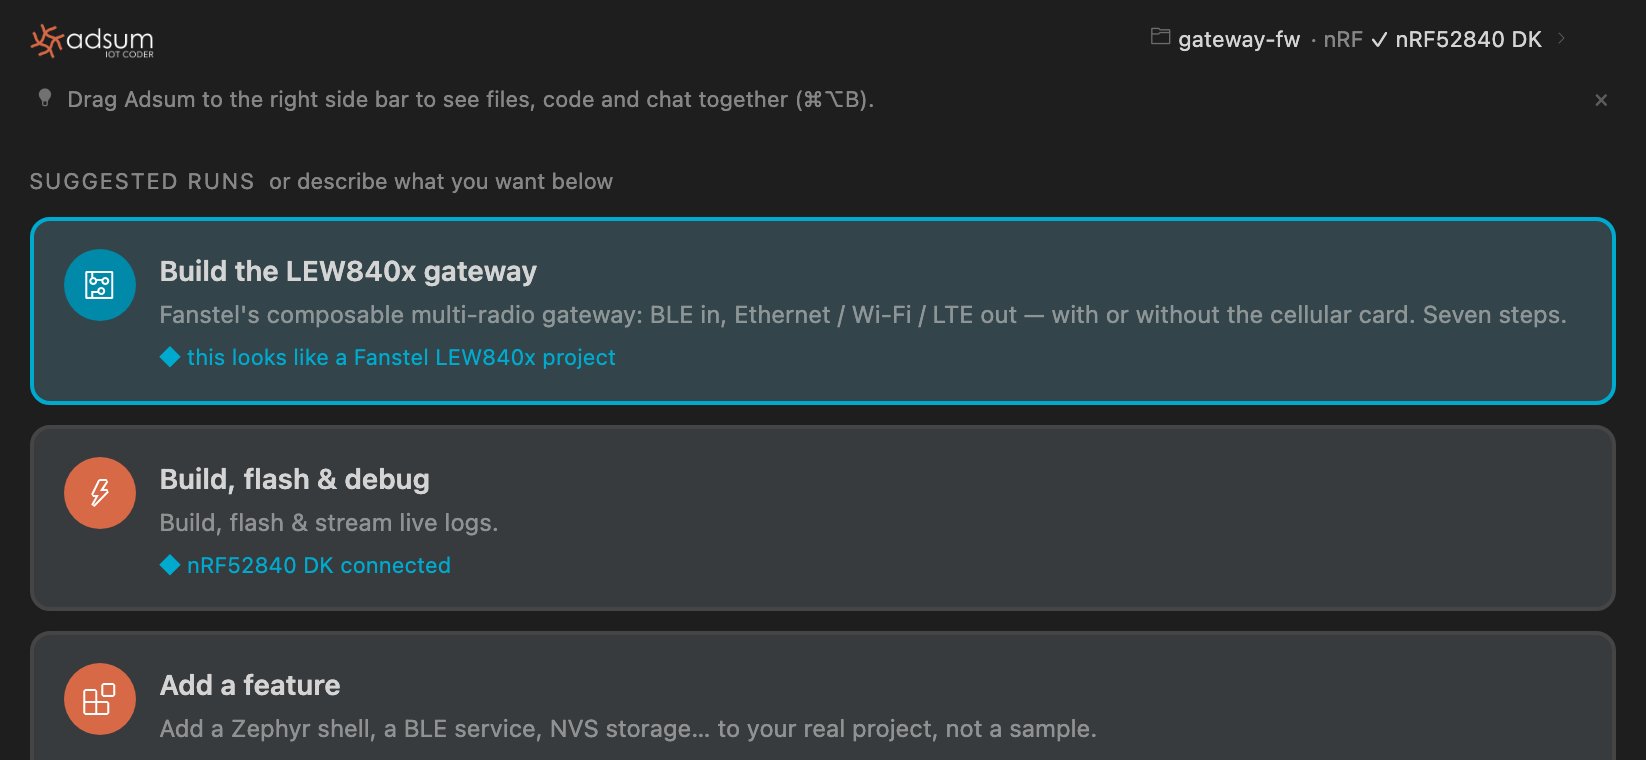
Open your nRF or ESP project and the agent reads what it is, detects your boards and toolchain, and offers the right one-click moves for daily work.
Adsum IoT Coder with an nRF project (central_uart, NCS 3.2.1) open in VS Code: the panel reads the project, detects the boards, and offers workflow cards including Build/flash & debug, Add a feature, Test & validate, and CRA SBOM & Fix

With a project open, the agent reads it and offers the right workflow cards.

  • Build, flash & debug. The full loop: build, flash, capture live logs (RTT/UART on nRF, serial monitor on ESP), find the issue, iterate until resolved. Boards auto-detect, with multi-device capture and source-aware correlation.
  • Add a feature. Wire a new capability (a BLE service, a sensor, a shell, storage) into your actual project, not a throwaway sample.
  • Start a prototype. Scaffold a new nRF or ESP-IDF project, set the target, and get to a first build.
  • Test & validate. Exercise your firmware with host tests and on-hardware checks.
  • CRA SBOM & Fix. One click builds an SBOM (SPDX), checks your secure-by-design posture from your real config, and helps you close a CVE, so you get ahead of the EU Cyber Resilience Act. See CRA readiness.
The same workflows drive ESP-IDF too:
Adsum IoT Coder with an ESP-IDF Wi-Fi softAP project open in VS Code: the panel detects Espressif ESP-IDF and ESP32-S3 / ESP32-C6, a 'Get ahead of the CRA' Wi-Fi prompt, and the workflow cards including CRA SBOM & Fix

An ESP-IDF Wi-Fi project (softAP) on ESP32-S3 / ESP32-C6, with the same workflow cards and CRA readiness.

After any task finishes, the agent suggests where to go next, so you are never left at a blank prompt. See workflows for the full set of everyday jobs.

Your first debug loop

1

Run the built-in demo

With no board and no project, run the bundled demo from the home. It debugs a real BLE bug on bundled firmware, so you see the capture-analyze-fix loop end to end.
2

Open your own project

Open an nRF or ESP-IDF project. The agent reads it, detects your boards and toolchain, and shows the workflow cards that fit it.
3

Build, flash & debug

Pick Build, flash & debug. The agent builds, flashes, captures live logs, and iterates with you until the issue is resolved.

Requirements

Choosing a model

Start with Claude Haiku 4.5 (the benchmark model), or bring any OpenAI-compatible key.